THE MAKING OF A NEW COURSE | MINDFUL MANDALAS: BOTANICAL DOODLING FOR SELF-CARE
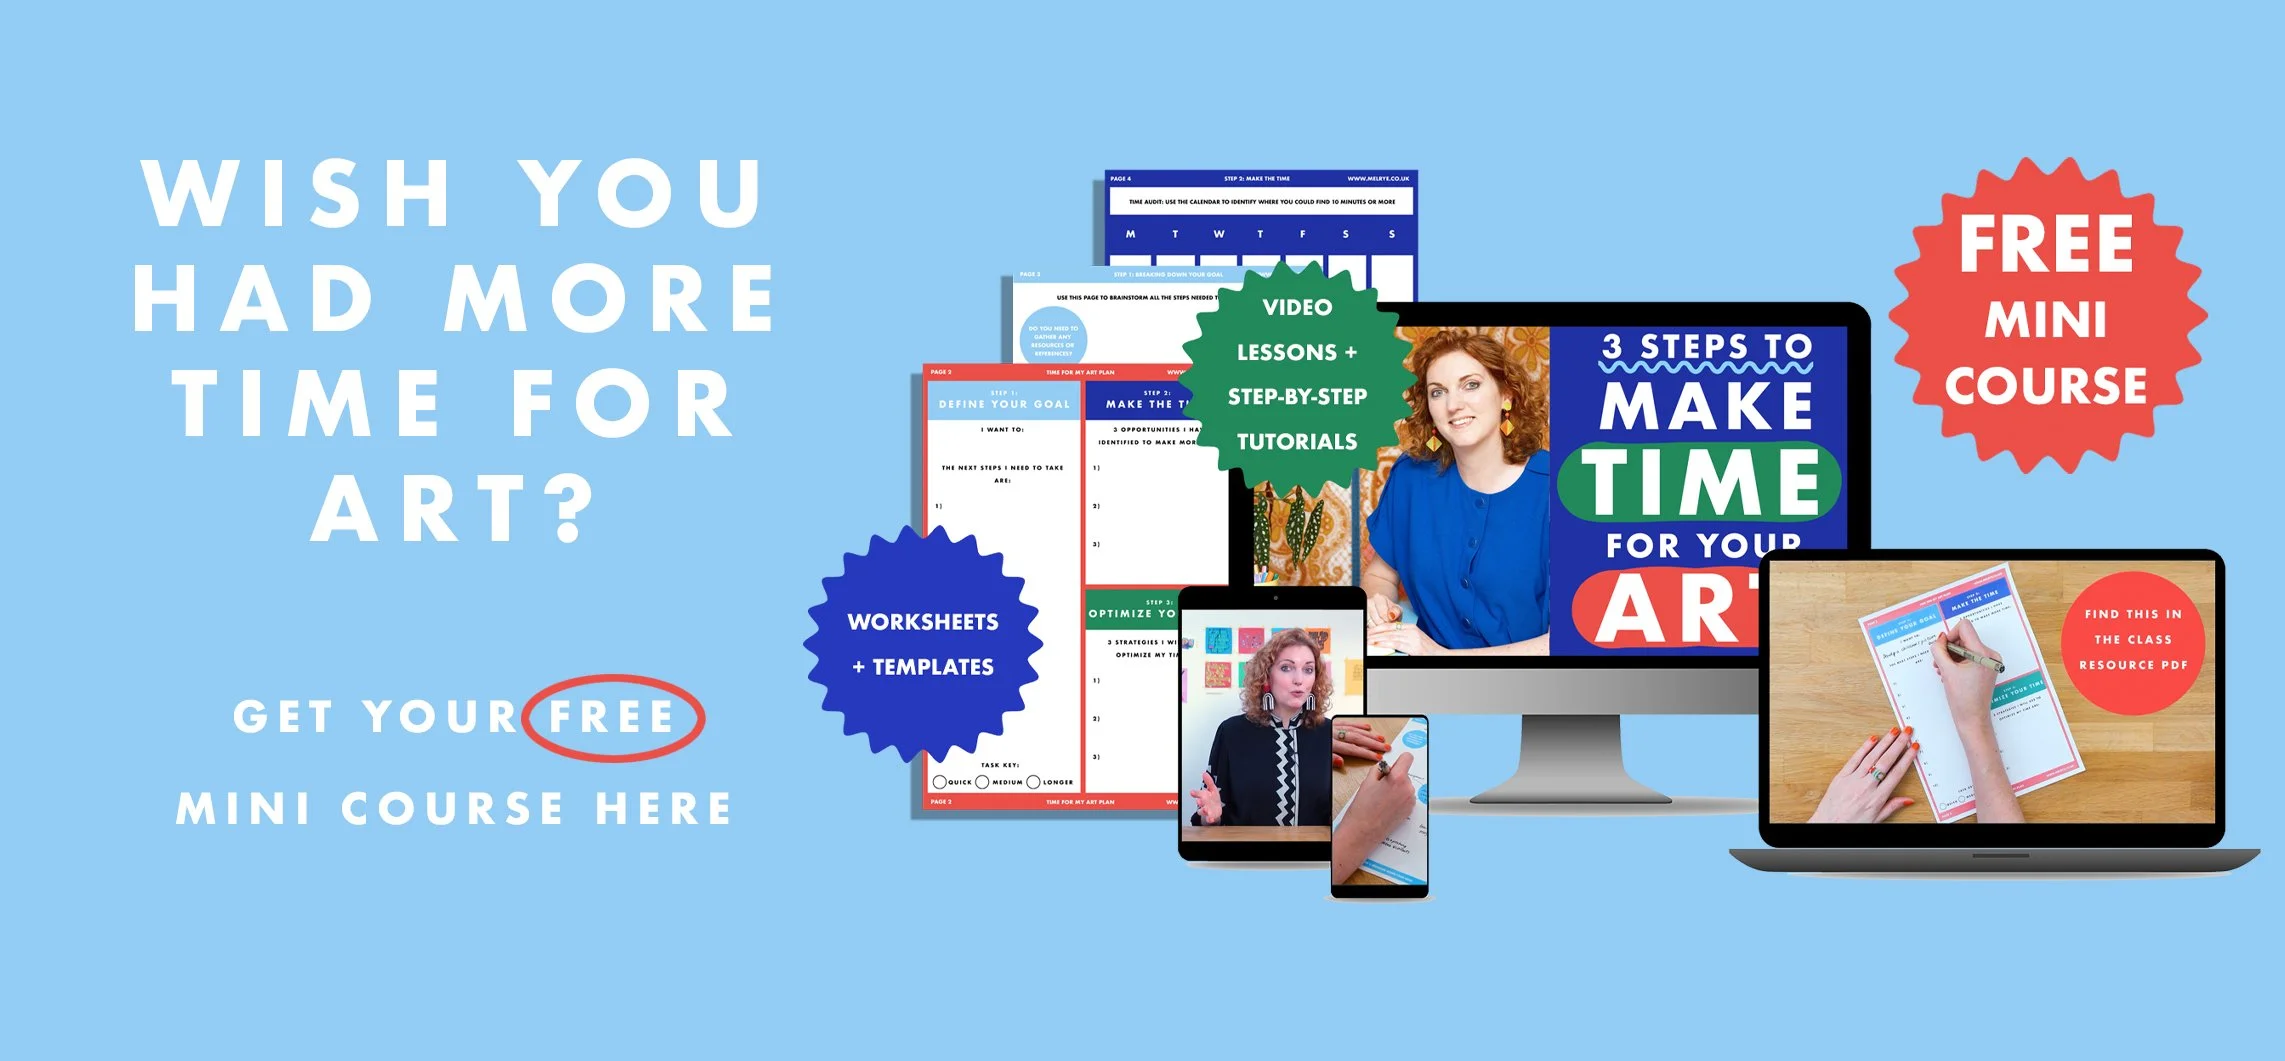
Last week I published a brand new online course - Mindful Mandalas: Botanical Doodling For Self-Care so in this blog post I wanted to explain a little more about where the idea for the course came from, a bit of BTS from production, and to share a little more information about what’s in the course too!

A SEED OF AN IDEA
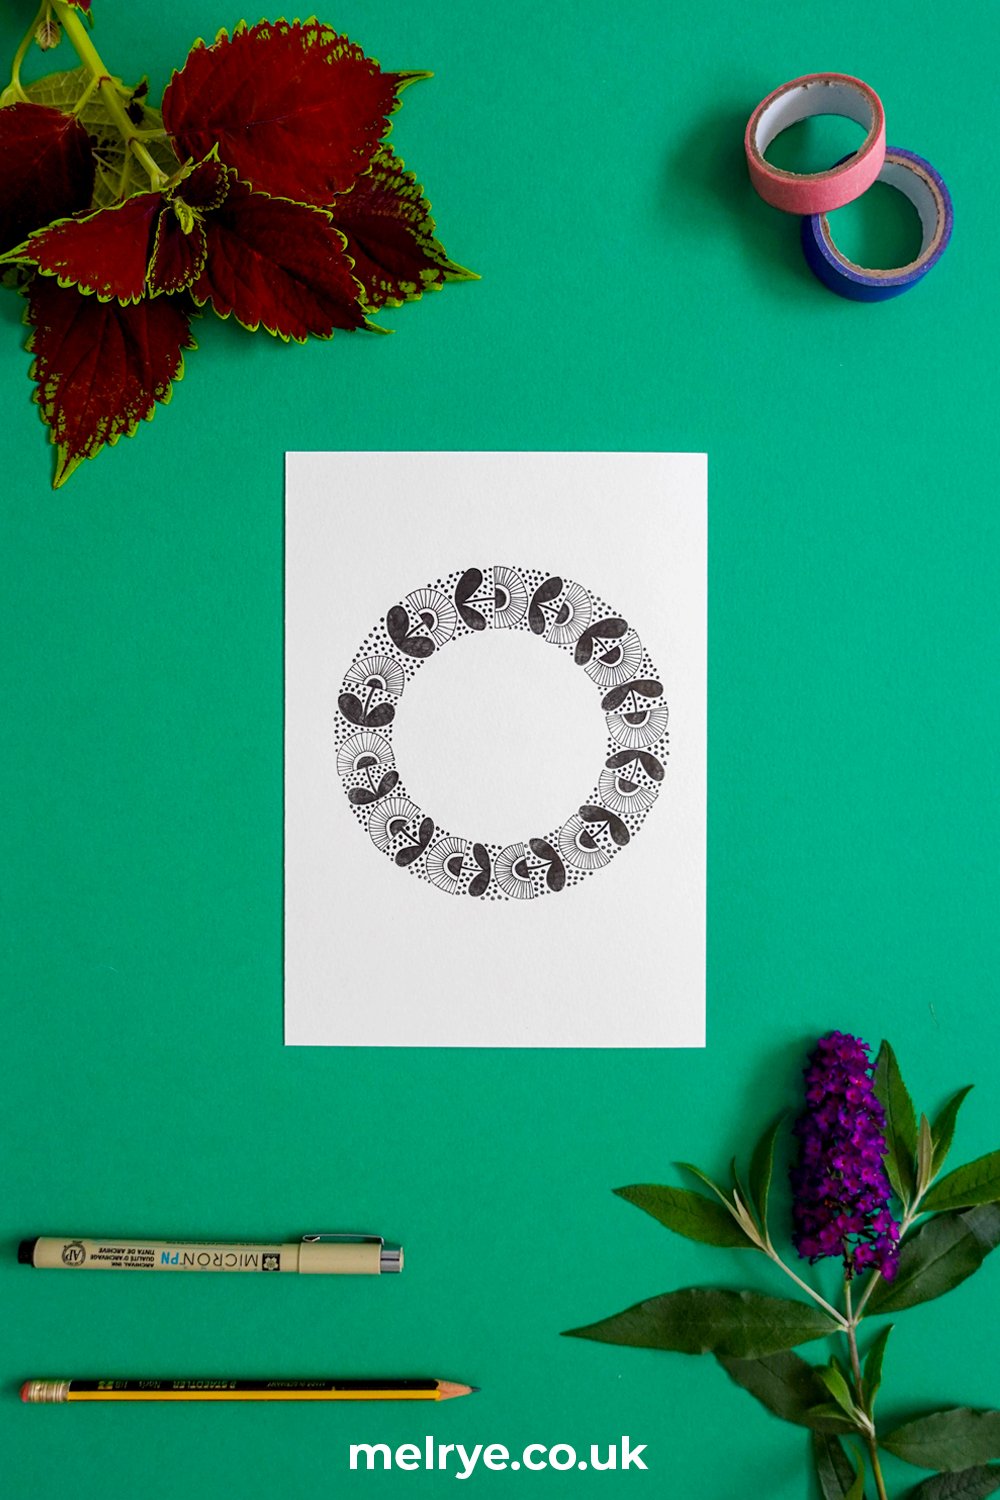
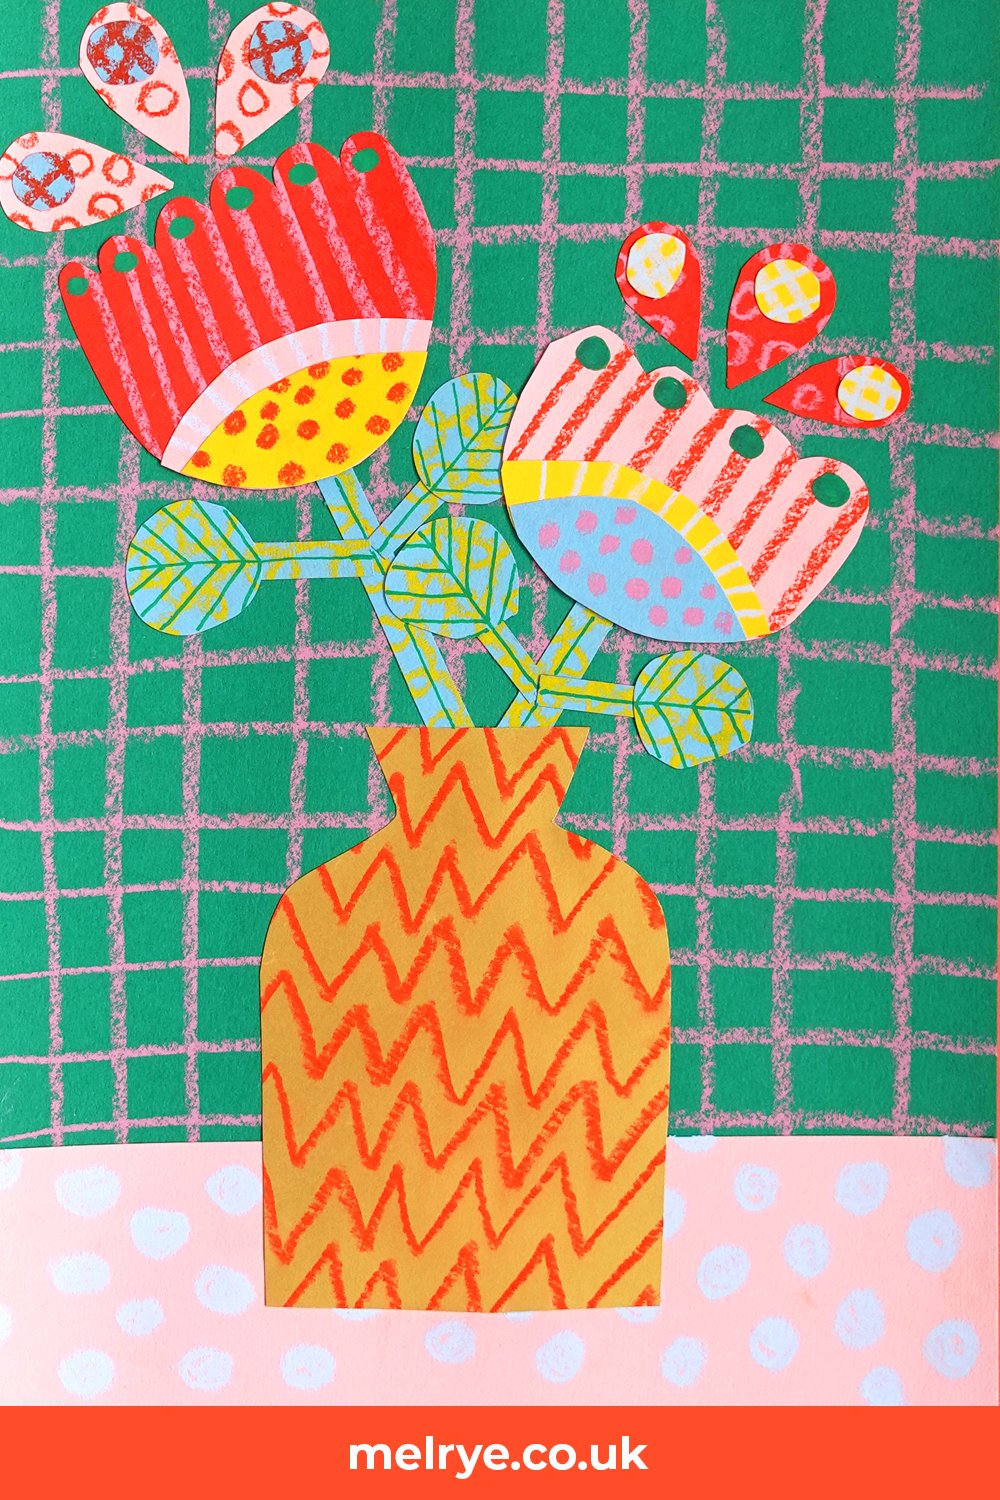
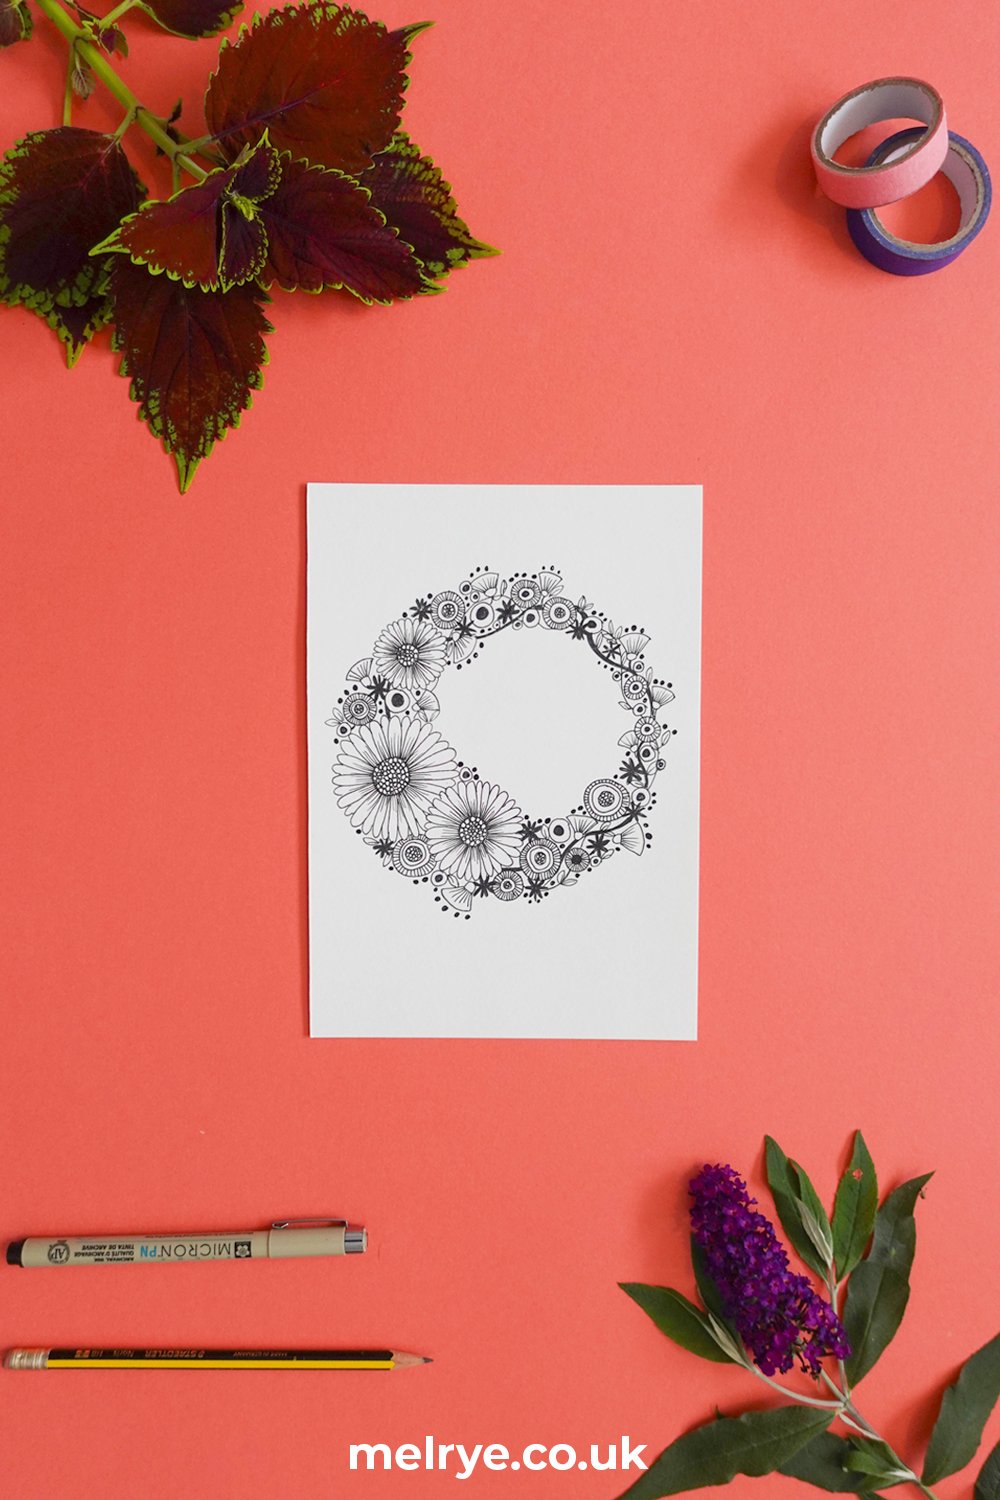
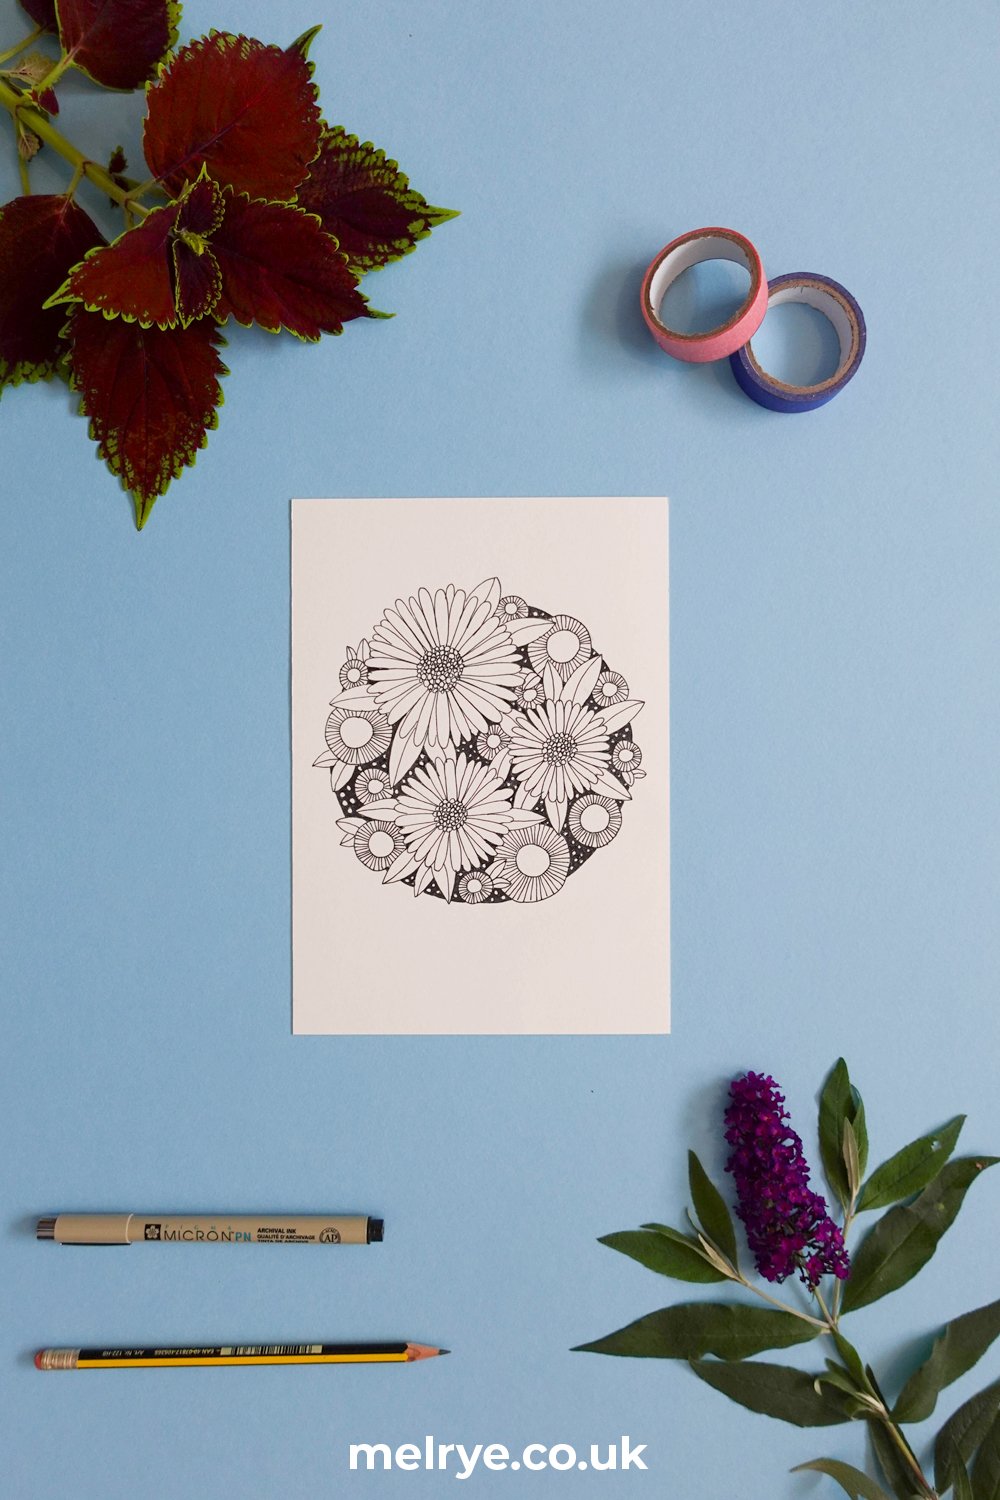
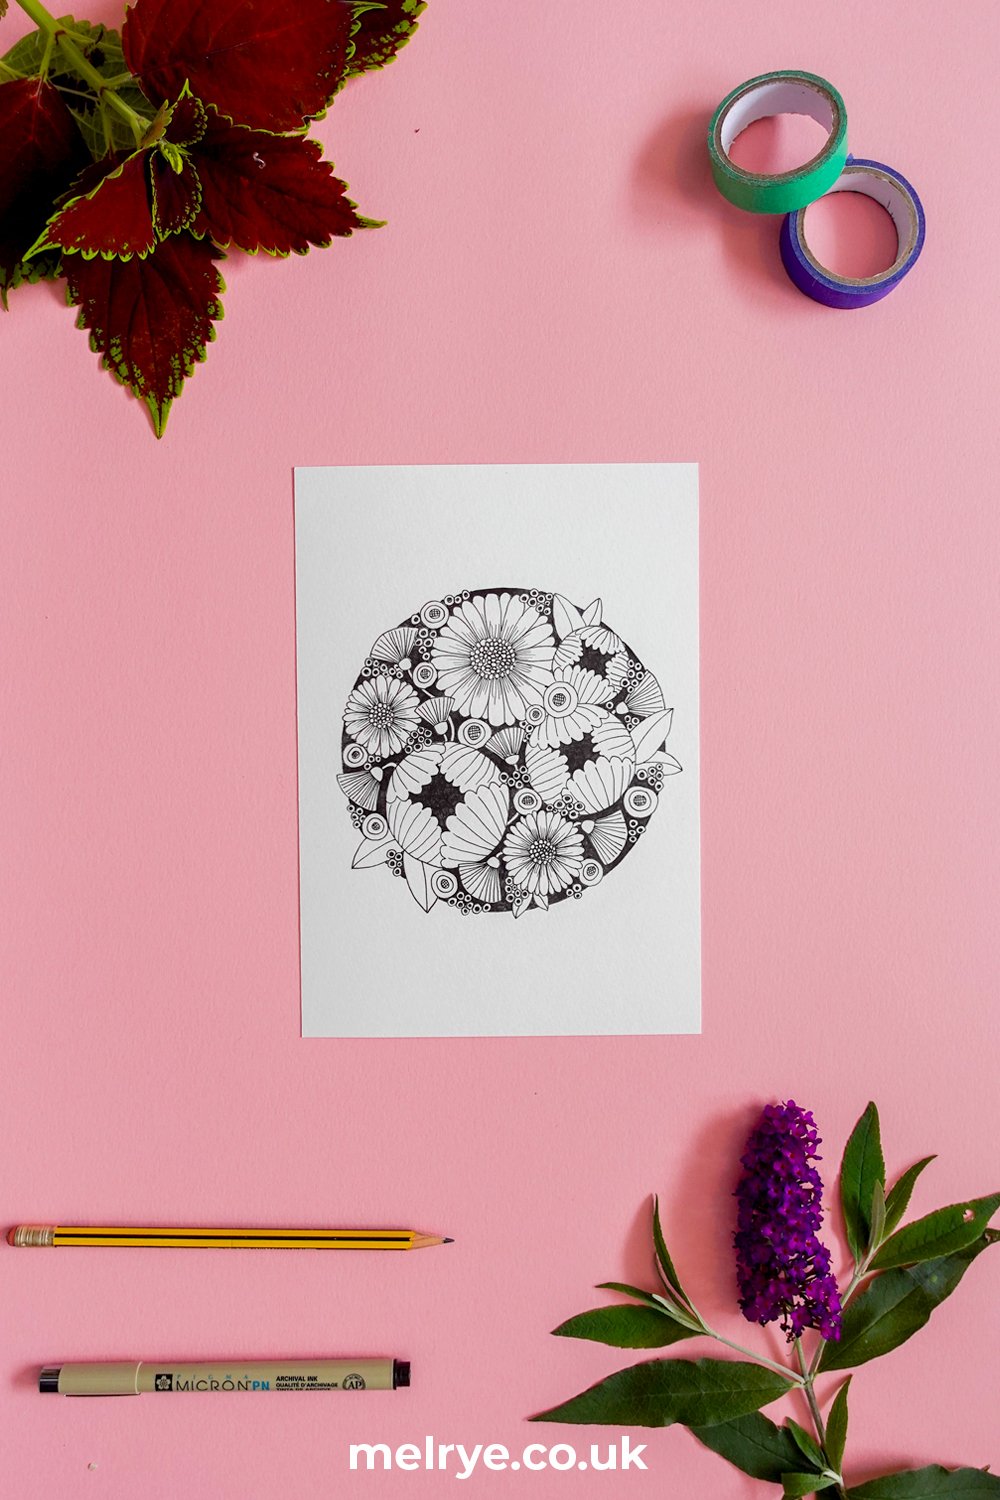
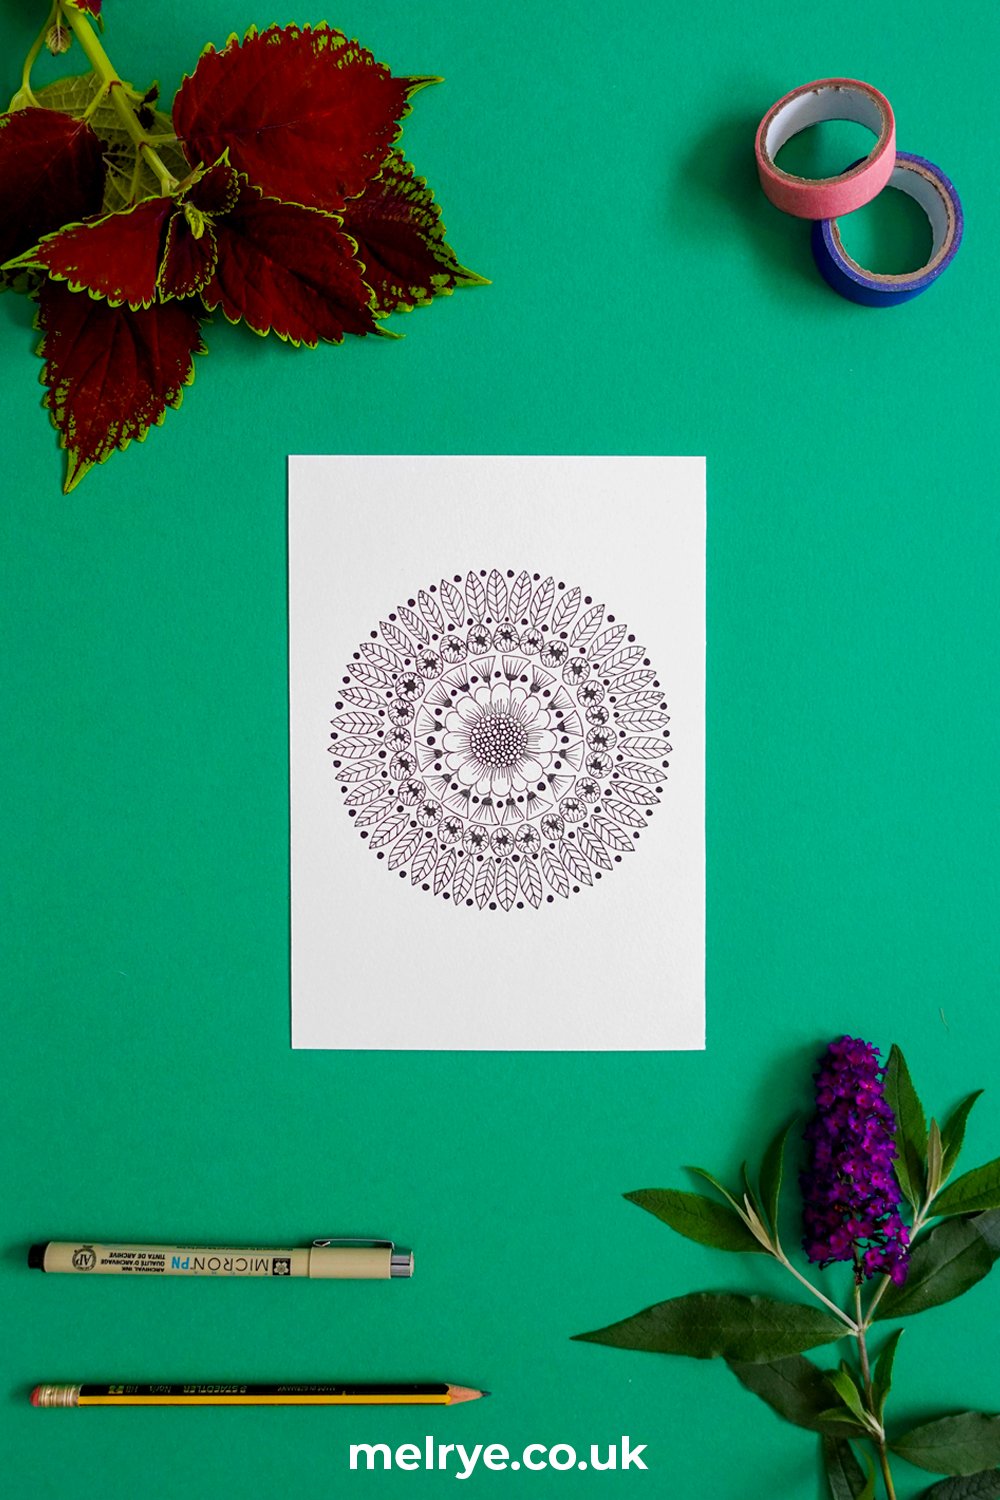
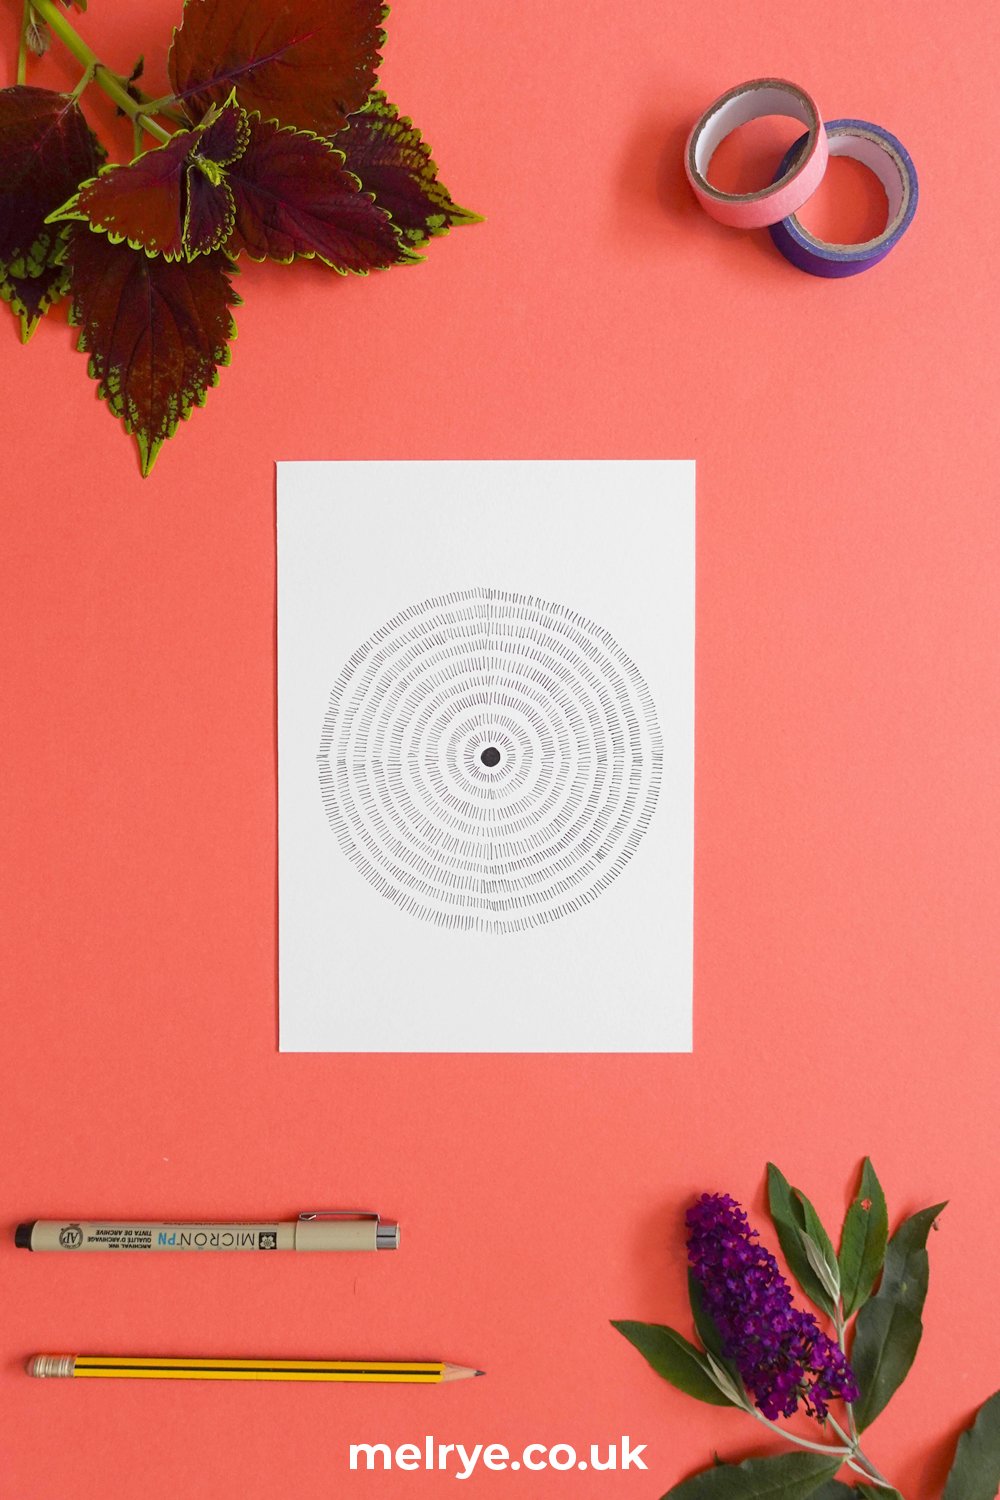
Around this time last year I hit a very hard spell of creative block coupled with burnout, and I found it really hard to do anything creative for a few weeks. I had been doing so much intensive admin work in my business that I became very disconnected from my creative practice. When I went to draw, I just couldn’t, and the more I tried, the more resistance I felt. One day, I started cutting out some colored paper, and quite naturally, a series of botanical inspired collages began to emerge from the cuttings, and a new body of work started, which seemed to be timed with the arrival of Spring as the garden started to show signs of life.
I felt inspired again (finally!) and so I continued to create a range of drawings and collages inspired by botanicals.

This was not the first time drawing helped to pull me out of a rut - during the pandemic, drawing patterns became a lifeline which supported me through some really challenging times, and I created the course Drawing Patterns: 14 Days of Mindful Drawing For Self-Care so that I could share what I’d learnt with others from that experience.
There was something very inspiring about working directly from the plants around me - mostly in my back garden - which really helped to get me grounded back in the here and now and more connected with the present, and so I continued to draw, collage and experiment.
Gradually I realised that there were some key ideas, compositional structures, and mindful drawing practices which kept cropping up, and so I had the idea to distill what I had found into a course, so that I could share it with others.

GROWING INTO A COURSE
Once I knew I wanted to take the idea into a course, I started to create more drawings with intention - figuring out what the common themes were in terms of the way I was constructing the drawings, and how I was connecting with the drawing process.
I also knew that a big part of what was working so well in terms of using this practice as a tool for self-care, is that it was about working from real references - disconnecting from technology, and not relying on the internet for references is a large part of the emphasis in this course, and it gives us an opportunity to tune into our surroundings and practice some mindful awareness.
As part of the course, I included a lesson about finding inspiration and tuning into our senses to explore our surroundings, which is a really nice grounding exercise.
I was then able to start deconstructing my drawings to create the outline structure for the course, in a way which provides a really clear structure for beginners to follow, with enough room for exploration for more advanced artists.
PRODUCTION
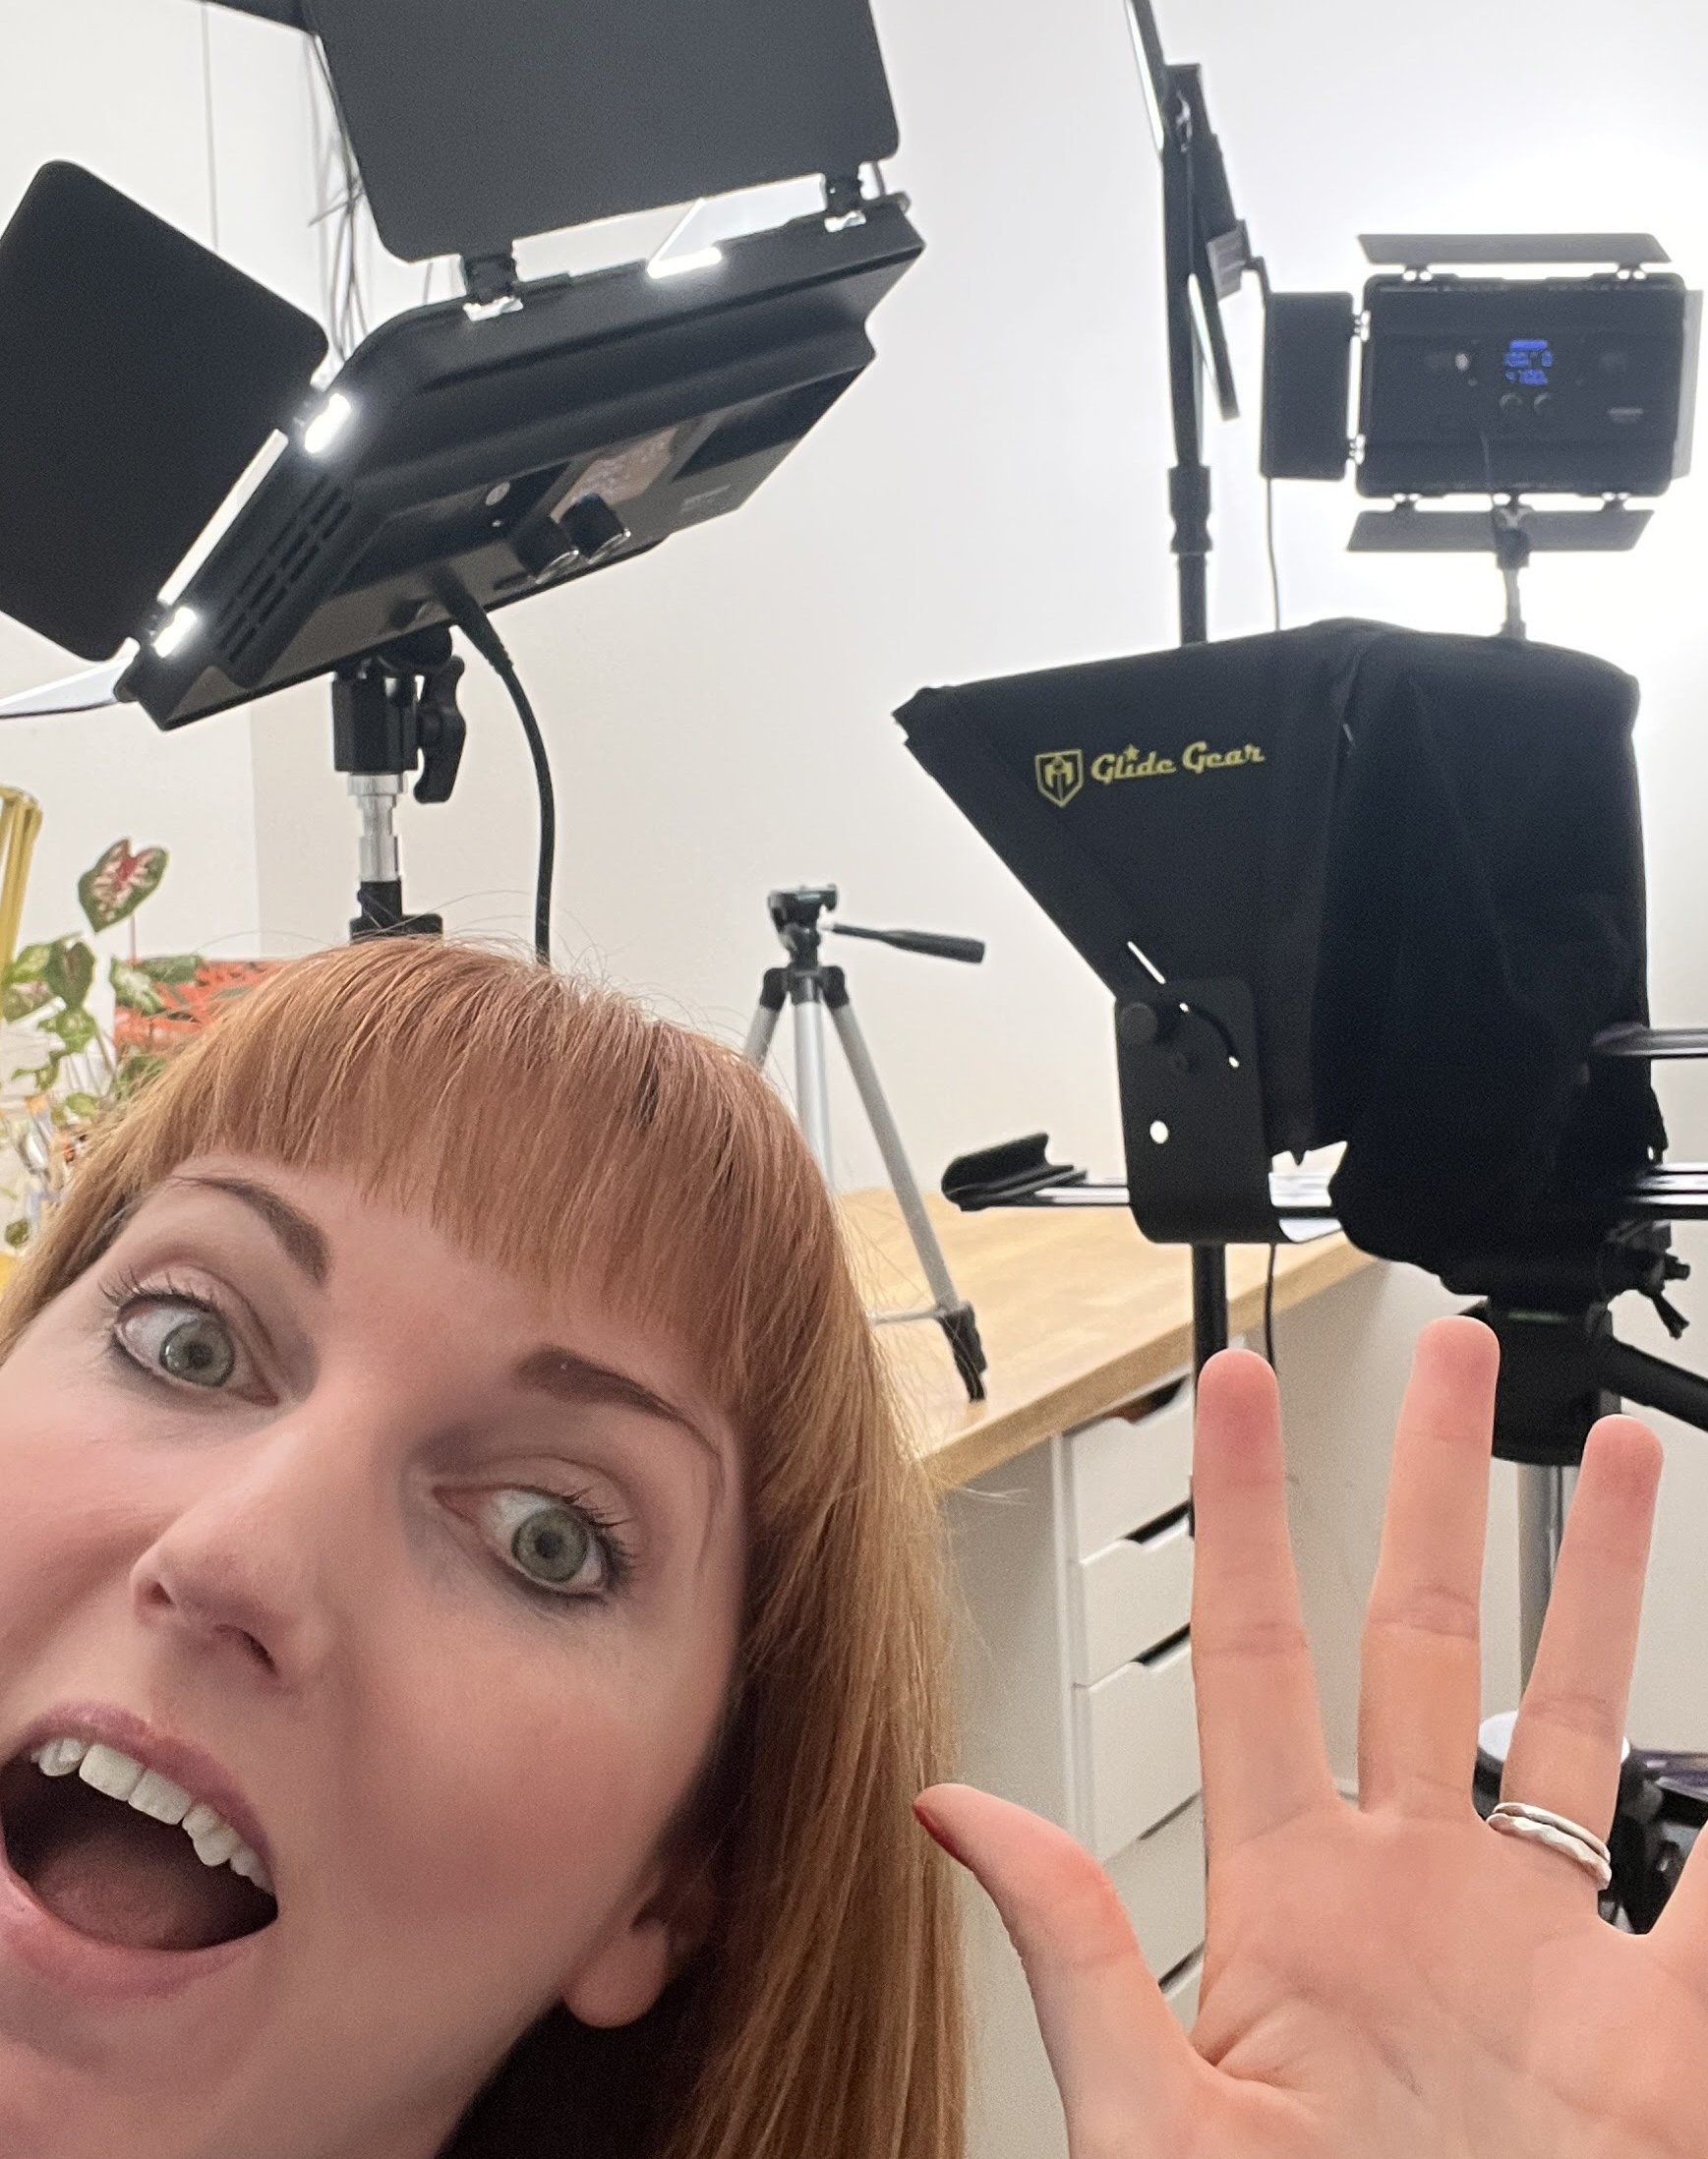
Here’s a photo from the middle of filming - it was the hottest day of the year so far!
It was also one of the wettest summers on record, and there were a few short sections of the class I needed to film outside, so this proved quite tricky to navigate.
Producing an online course is always an absolute mammoth undertaking, and even though I have been doing it for a while now and have developed workflows to help me with the process, it is still A LOT!
Here are some of the stages I go through with creating a course:
Project brainstorming/refining
Planning the outline structure for the class
Scripting
Planning audio/visual assets
Creating example artworks
Photographing examples
Filming
Editing
Creating slides and animated graphics
Creating accompanying course resources (PDFs etc)
Writing copy
Course merchandising
Uploading and testing on various platforms where the course will be available
Publishing
Marketing (this has it’s own extensive list!)
One major set-back that I had during production was that during the editing phase, it became clear my computer was no longer up to the job of editing reasonably complex timelines and so I had to bite the bullet and upgrade my (almost 10 year old!) iMac with a Mac Studio. My bank balance did NOT like this development, but it meant I could resume editing and finish the class, and I’m so happy with my new computer - maybe there’s a helpful blog post in there somewhere about that, but the key thing was that I managed to get the editing finished!
THE END RESULT
I am super happy with how the course turned out - it is very accessible, and easy to follow along with whatever your level.
I have published the first 2 videos (the course trailer and the course overview) on my YouTube channel, so if you’d like to get a really clear picture of what is included in the course, this should give you all the information you need!
There is also of course the course information page which gives you a good overview of what to expect, as well as the different enrolment options available, and of course if you have any questions, please do drop them in the comments below, or reach out via my contact page.