MINDFUL DRAWING TUTORIAL: PLAN
As part of #mindfultober 2024 I have created a series of free Mindful Drawing Tutorials, so that if you like the idea of joining in with Mindfultober but don’t know where to start, or perhaps you just like to have a little bit of guidance and support as you draw, so you can just relax and enjoy the process, these are for you!
This tutorial can also be found as a real-time draw with me style tutorial on YouTube, so if you prefer to digest this in video format, feel free to hop on over there!
SUPPLIES
To follow along, you will need:
paper
scissors
glue
a pencil + eraser (optional - see below where I explain my approach)
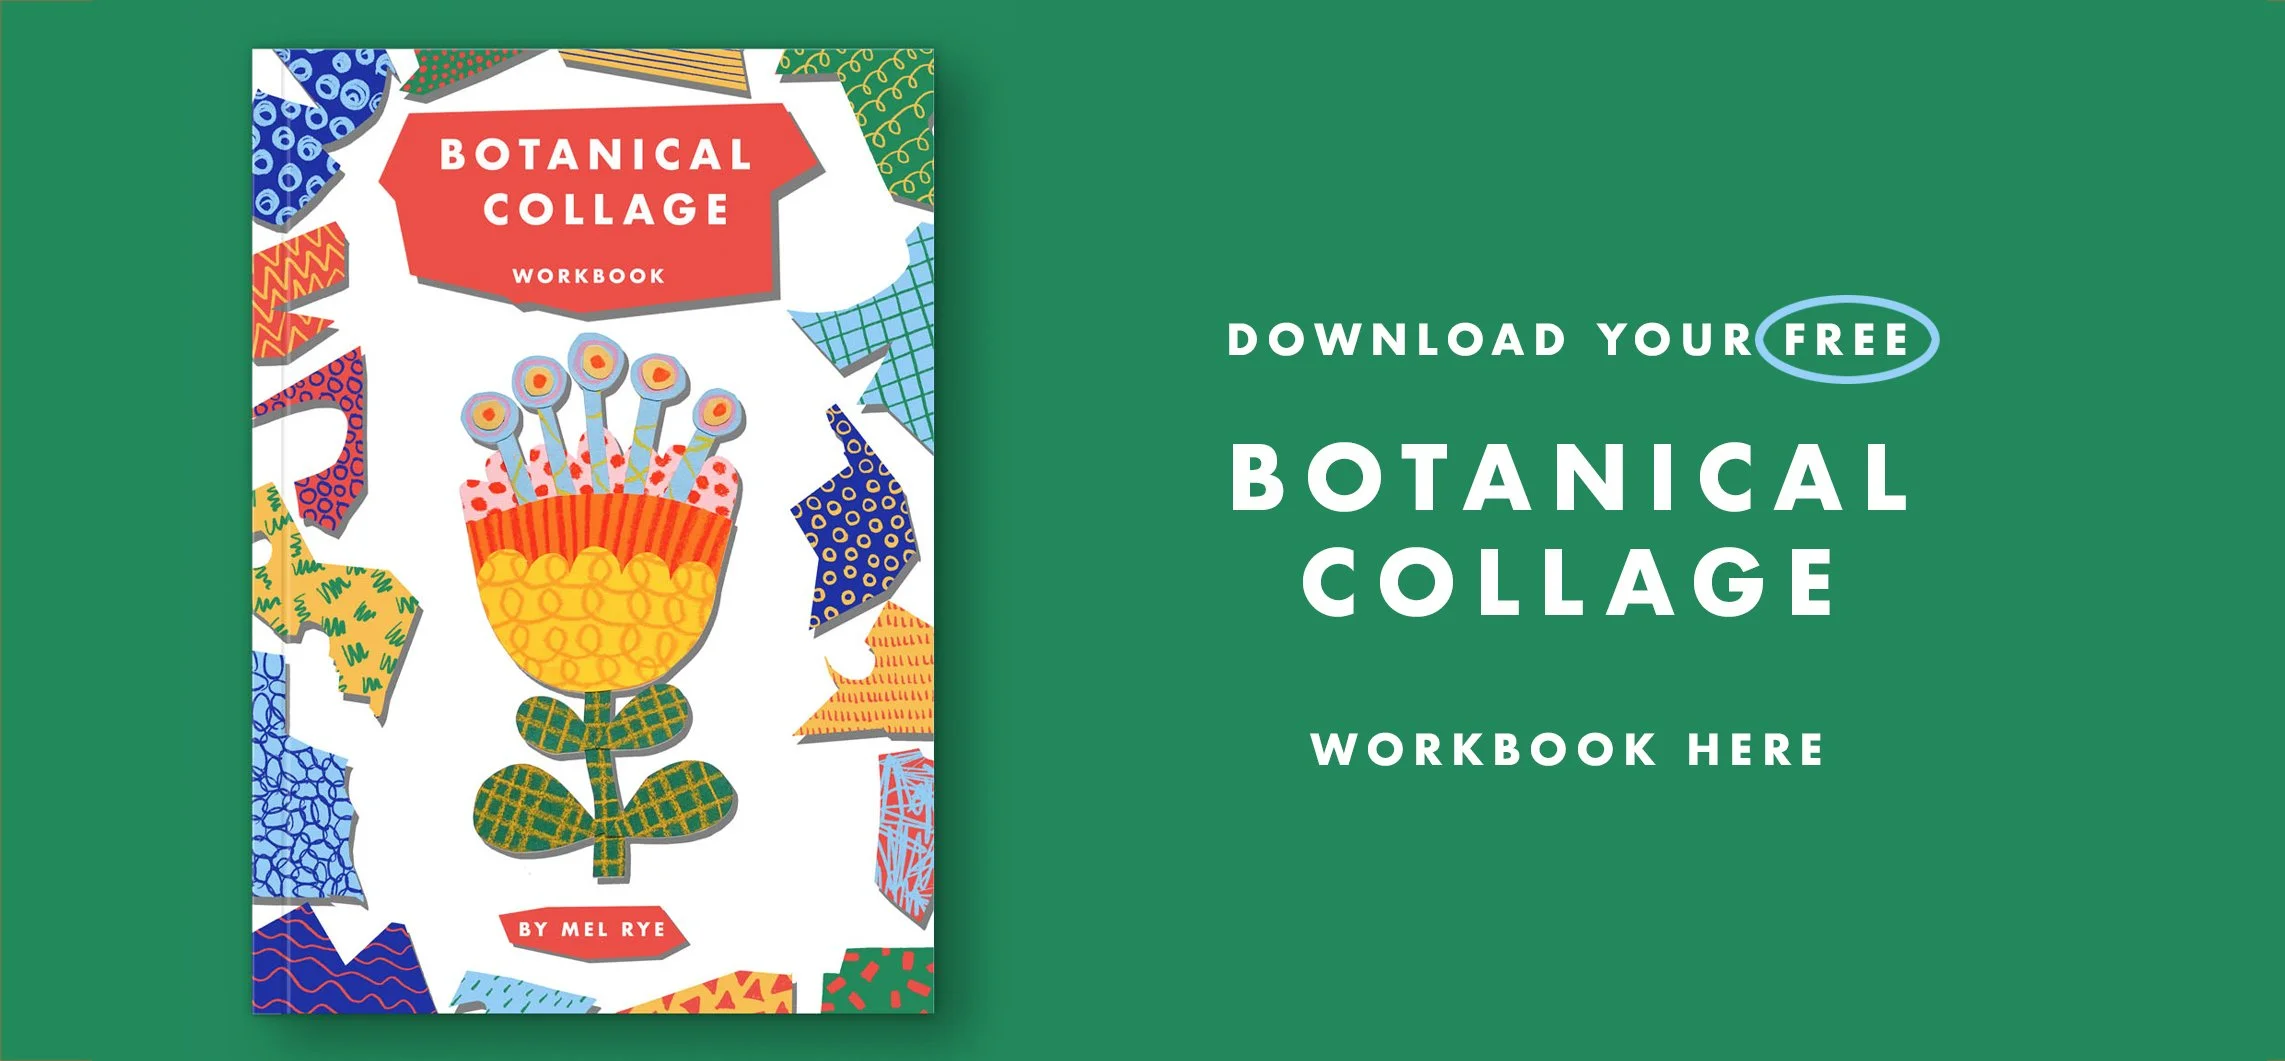
collage papers - you can either print out my free botanical collage workbook which includes printable collage papers, or you can make your own with some colored paper and art materials
APPROACH
The way I want to approach the prompt ‘Plan’ is to follow a template or design, but without drawing out the shapes on my collage papers first - so I will be using my scissors as my drawing tool to playfully cut and adapt my collage papers as I go.
I find this really helps with a mindful approach to collage - because it prompts me to focus on observing carefully and translating what I am seeing in my design to my hand as I use my scissors to cut out the shapes.
I would encourage you to give this a try, but if it feels a little too much, feel free to use your pencil to very lightly sketch out your shapes first - do what works best for you!
I will be using the second template in my Botanical Collage Workbook (pictured above) as my plan for this piece - feel free to print out a copy of my Botanical Collage Workbook if you’d like your own copy to work with.
STEP 1: CUT THE LARGEST SHAPE FROM YOUR COLLAGE PAPER
Identify the largest shape in your collage, and cut that out from your collage paper. In the example above, I have included the shapes which will go on top of the largest shape too (the yellow and dark blue) within my overall shape - overlapping the yellow shape with the red one will be much easier than trying to cut both shapes to fit exactly.
Start with shapes which are larger than you may need them, as we will be refining and trimming them as we go - it is always easier to make a shape smaller than needing to create something bigger!
TIP: If you are using my Botanical Collage Workbook for your collage papers, the sizes and colors of the printable collage papers in there correspond with the design of this template we are working with, so use the red with yellow checked lines for this shape and it should be about the right size!
STEP 2: CUT THE REMAINING SHAPES FROM YOUR COLLAGE PAPER
Once you have the largest shape cut out, we can cut the remaining collage paper shapes from the other colors. When you do this, don’t worry at this stage about the shapes being perfectly accurate or neat (notice my dark blue strip is not meeting the edges of the flower? That’s because I know I’m going to trim the edges to make everything a bit neater later on).
Here are a couple of tips specific to this design, but they may help when working with any collage:
When I cut out the yellow shape, I laid my large red shape on top of the yellow paper first so that I knew roughly how wide it should be - I also did this with the dark blue stripe.
I cut the blue stem and base of the flower as 2 separate pieces, and each leaf is also made in 2 pieces - a leaf and a stem. This makes it much easier to cut, and is more flexible as you position it on the page too.
STEP 3: REFINE THE COLLAGE SHAPES
Once you have all the pieces you need to make your collage cut to roughly the right size and shape, we can refine them by trimming them and making them more accurately represent what our design looks like.
To do this, you will need to begin to stick a few shapes together - in my example, I have glued together the red, yellow and dark blue shapes in the position I want them so that I can trim the edges of the flower so that they are all the same width, and fit the shape I am trying to create.
STEP 4: GLUE THE COLLAGE PIECES TOGETHER
As you continue to refine your collage shapes, you will likely need to stick more of them together as you go - try to avoid sticking any pieces to the background just yet until you are happy with all your collage shapes.
As you refine your shapes, experiment with the angle and layer order of the pieces - particularly as we are working with patterned papers in this example - making small changes like rotating the leaves, or tweaking the angle they stick out from the stem can all have a really big impact on how your collage looks (and it’s so fun to play with all those little tweaks before you commit with glue!)
STEP 5: GLUE YOUR COLLAGE TO THE BACKGROUND
Once you are happy with the size and position of everything, glue your collage to your background paper. Make sure you use lots of scrap paper to do the gluing on to protect your collage or background from getting covered in glue where you don’t want it!
STYLE: HOW THIS PROCESS CAN HELP YOU TO IDENTIFY YOUR EMERGING STYLE
Taking an approach of using a template as a plan and letting it guide your collage rather than tracing it precisely, is a great way to allow your emerging style start to appear.
The way you cut and handle shape will tell you something about your general style, which will usually translate to other areas of your creative work too - for example, you could be incredibly neat and precise, or more bold and expressive - both of these would be evident in the way you have cut out your collage shapes, so look for clues in the way your collage is looking, and see if you recognise any of those things in your other creative work!
STYLE: HOW TO MAKE IT YOUR OWN
If you feel confident to begin to deviate more from the template, here are some ways you could adapt the template to make this feel even more your own:
Try creating your own collage papers using materials and colors you love
Try tweaking the proportions of the different parts of the template to create something more unique (for example make the flower bigger/smaller/wider/taller)
Try substituting some areas of the template for your own ideas, it could be a really small tweak like changing the leaf shapes, or perhaps designing your own botanical from scratch! If you love the idea of designing your own folk inspired botanical collage, then I have the perfect next step:
is a self-paced online course which shows you this fun, freeing approach to image making which combines mark making and paper cutting, ideal for overcoming creative block and exploring new ideas.
It’s beginner friendly and will walk you through how to create your own designs just like this one from start to finish!
A MINDFUL APPROACH: ENJOYING THE PROCESS
One of the benefits of working to a template, plan, or pre-determined design, is that it takes away the pressure of wondering what to create as you assemble your collage, which can allow us to sink into and enjoy the process!
As you work on your collage, try to really tune into all the physical sensations you are experiencing: the feeling of the paper between your fingers, the sound the scissors make when cutting the paper, how the colors make you feel. Try not to rush, and enjoy your time with this collage making process!


