MINDFUL DRAWING TUTORIAL: LAYER
As part of #mindfultober 2024 I have created a series of free Mindful Drawing Tutorials, so that if you like the idea of joining in with Mindfultober but don’t know where to start, or perhaps you just like to have a little bit of guidance and support as you draw, so you can just relax and enjoy the process, these are for you!
This tutorial can also be found as a real-time draw with me style tutorial on YouTube, so if you prefer to digest this in video format, feel free to hop on over there!
SUPPLIES
To follow along, you will need:
paper - I recommend having a few different colors which you like. It’s helpful if the color you use for the background of your layered garden contrasts against the other colors. You’ll also want some paper to stick everything onto!
scissors
glue
a pencil + eraser
art materials to draw with - Use whatever you have to hand and are comfy using!
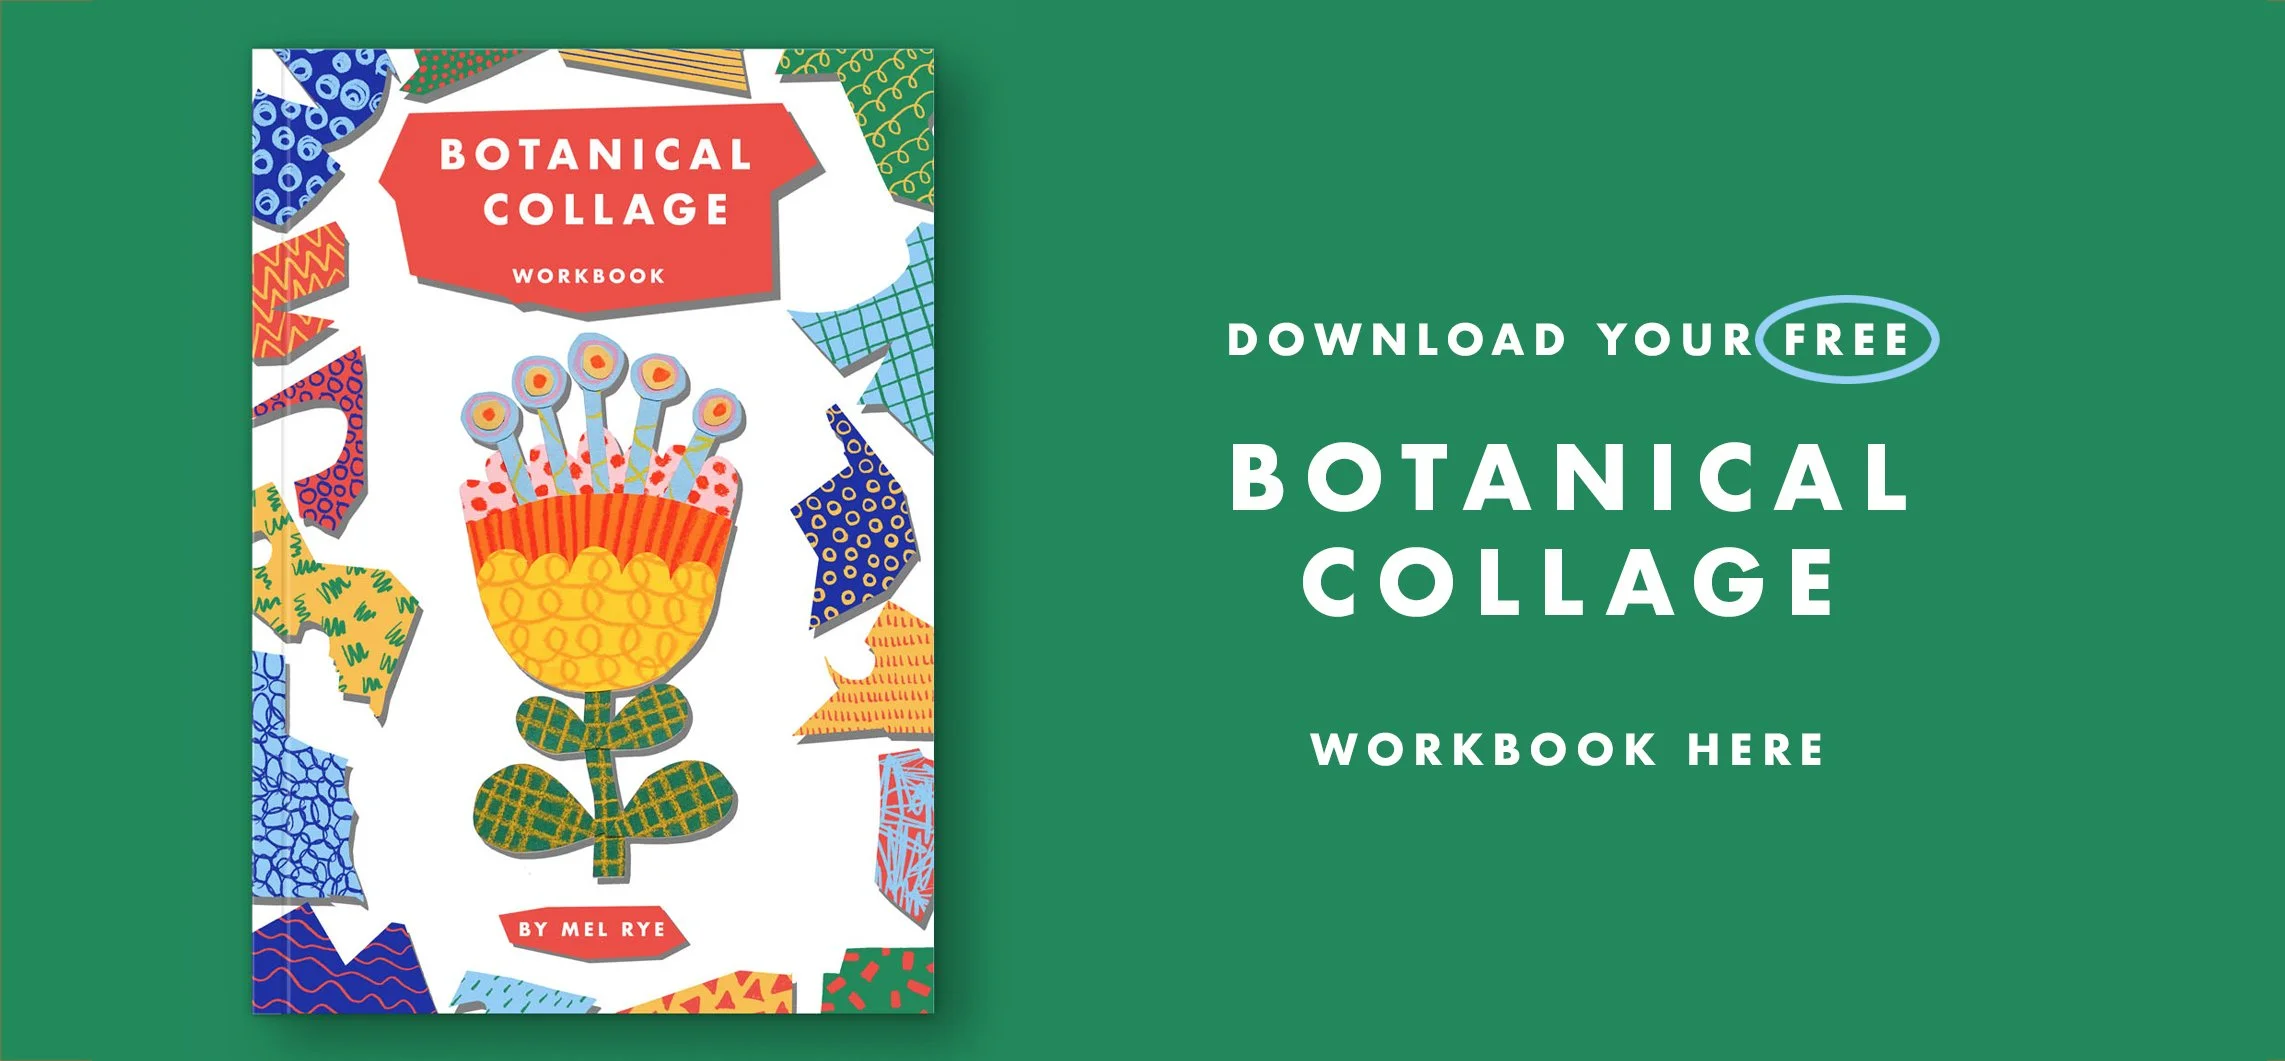
I will be referencing one of the composition templates, and some of the step-by-step botanical drawings in my Botanical Doodling Workbook as I create this collage. Feel free to grab your FREE copy HERE!
STEP 1 - CUT A LARGE CIRCLE FROM COLORED PAPER
This is going to form the background of your ‘garden’ so pick a color which contrasts from what you intend to use on top for your flowers. I really like this emerald green which contrasts against the warm colors really beautifully!
TIP: Use a small plate or bowl to lightly draw around to give you a nice even circle for this - it’s nice if this one feels quite circular, whereas the flower shapes we cut out will be much more organic and wonky!
STEP 2: DRAW YOUR LARGEST FLOWERS
We will start by creating the largest flowers first - these can be considered as being the ‘stars of the show’ and it’s easier to start with the largest elements in order to fit smaller ones between them to fill your space evenly.
We will simplify the shapes of flowers in this collage to be based on simple geometric shapes: circles and triangles. If you have a look through my Botanical Doodling Workbook, I walk you through how to draw several different types of flower based on a basic circle shape, and for this collage I want to use the peony design:
TIP: Organic compositions tend to work best with an odd number of elements, so we will aim for 3 or 5 large flowers taking up most of the space. This will give you a rough indication of how large to draw your flowers.
Start with whichever colored paper you feel most drawn to, and draw 3 or 5 large flowers in whatever medium you feel comfy with.
Don’t worry about adding details at this stage - we will do that later. Once you are happy with your flowers, cut them out.
STEP 3: DRAW SMALLER BOTANICAL ELEMENTS
Lay your large flowers on your colored circle, and now we can create some slightly smaller flowers to position in between them - again using an odd number tends to work well.
Cut these out and lay them on your paper circle with the large botanical elements.
Now you can decide how many more botanical elements you may need to fill up your circular garden effectively and in a way which looks natural and organic - keep creating more elements and cutting them out and layering them on the background until you feel you have enough.
STEP 4: ADD ADDITIONAL TEXTURE + MARK MAKING
Before we begin gluing your collage pieces down, it can be really nice to add some additional texture and mark making with your art materials.
I decided to add some texture to my background circle shape, and also add some highlights and shadows to my flowers to add a bit more interest. This is also a good opportunity to work into any areas that need a little more contrast, or tie the colors together by introducing some highlights in a color from another flower.
STEP 4: GLUE EVERYTHING DOWN
Once you are happy with the arrangement of your pieces, glue them down to the circle shape. You can still continue to work into them with your art materials once the piece starts to come together - it’s often easier to work into the smaller pieces in particular once they are a bit more stabe by being attached to the background.
When you are happy with how everything is looking, glue your layered circular garden to the background paper.
And now you have a gorgeous, layered botanical circular garden - stunning!


