Can Changing The Way We Grip Our Pencil Improve Our Drawing?
The short answer is yes - when it comes to drawing well, there’s more to pencil grip than you might think. For most of us, the way we hold our pencil to write is the way we hold it for anything else - including drawing.
If you would prefer to digest this tutorial in video format, you can do that here:
When we have been used to holding our pencil a particular way for years - decades even - it can be a strange idea to try it a different way, but if you are learning to draw, or draw regularly but hadn’t thought about your hand grip - here is a quick overview of why, and how we should branch out.
There are lots of different hand grip variations, but these are the 3 most common:
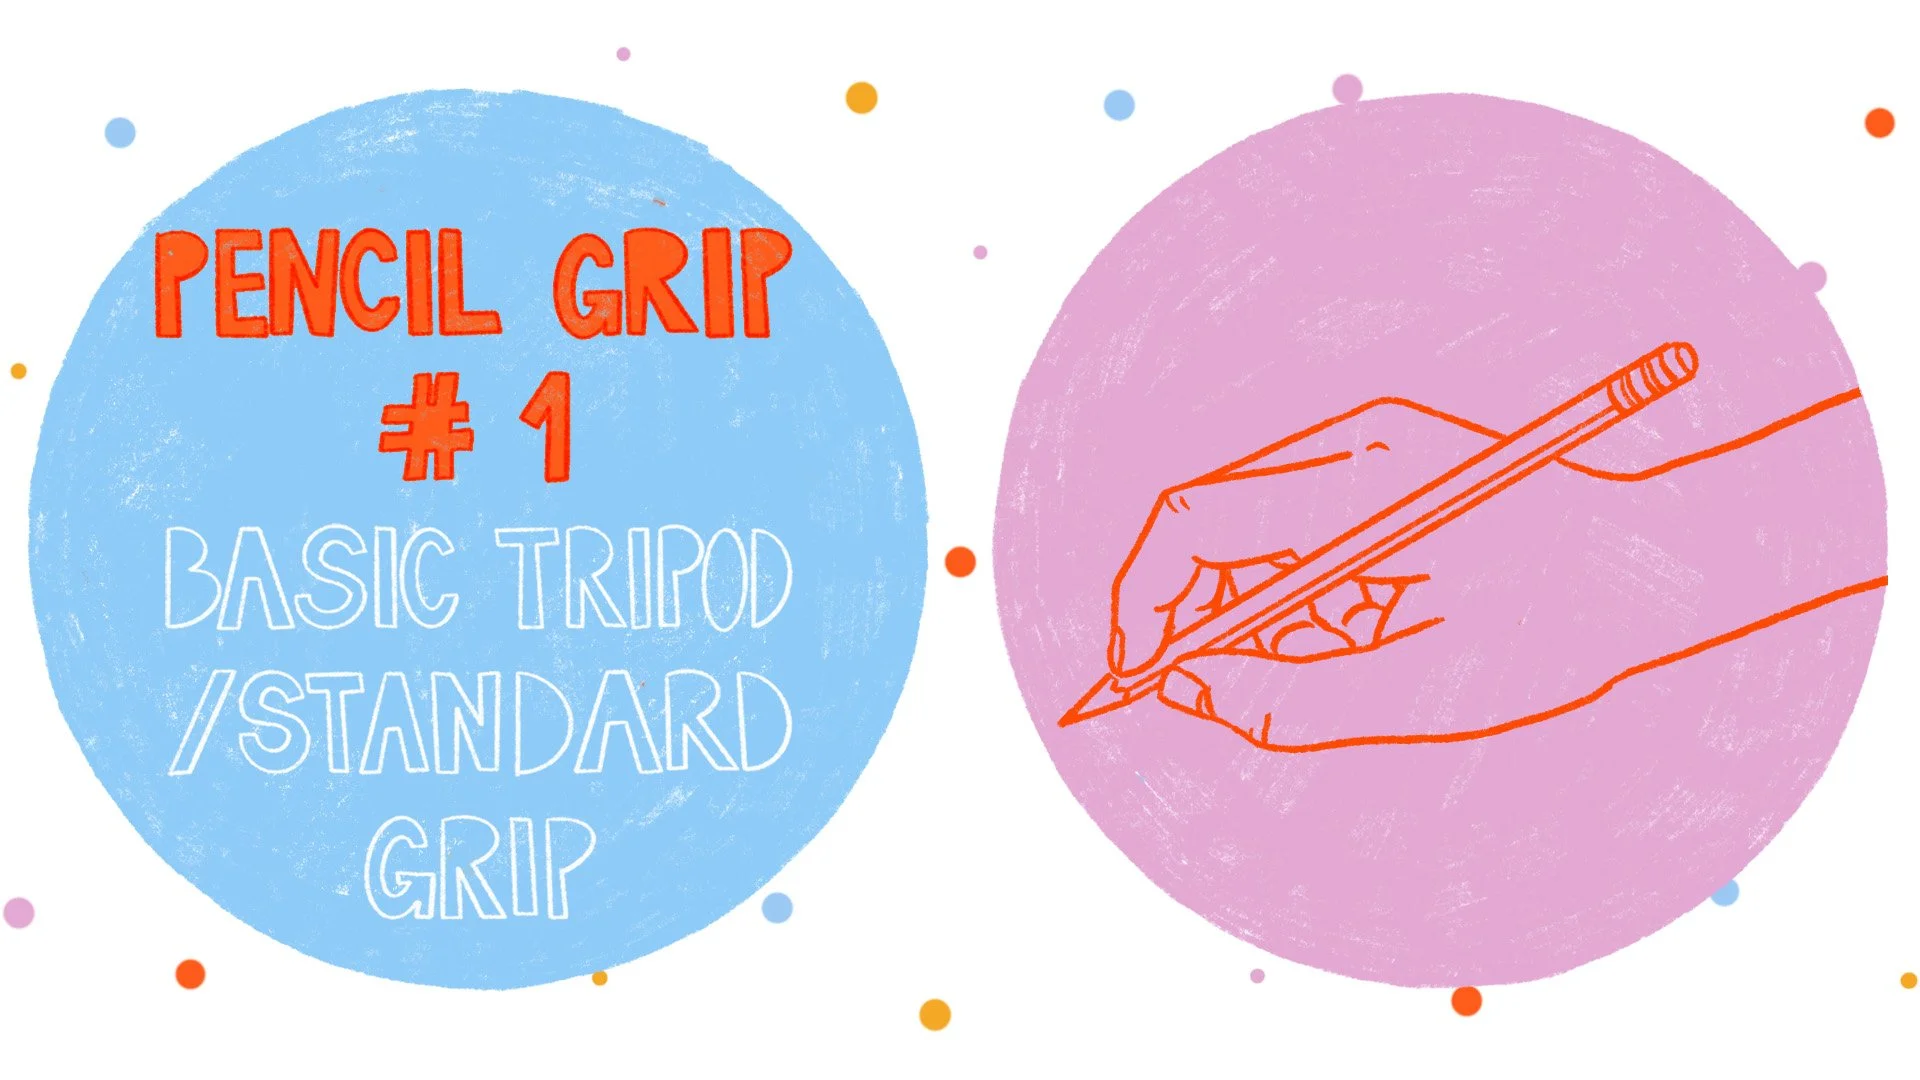
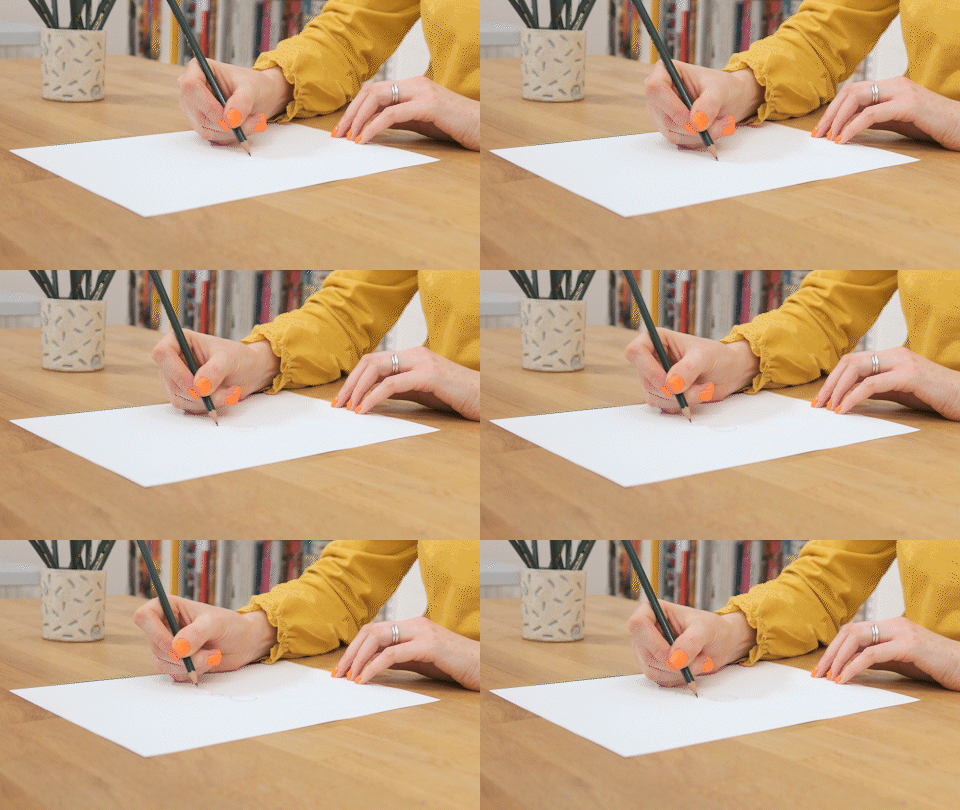
The first is the one that you’ll be pretty familiar with, as you’ll likely use it for writing, which is the basic tripod grip or standard grip. This grip will give you a lot of control, but not much freedom of movement as your hand is in contact with the drawing surface. For sketching, we want the movement to come from the shoulder and arm with the wrist locked. So, this grip is great for detail, but not so good for sketching.
Basic Tripod Grip
This grip also encourages us to use the point of the pencil which will make darker, more defined marks. When we begin sketching, we want to keep our marks as light as possible.
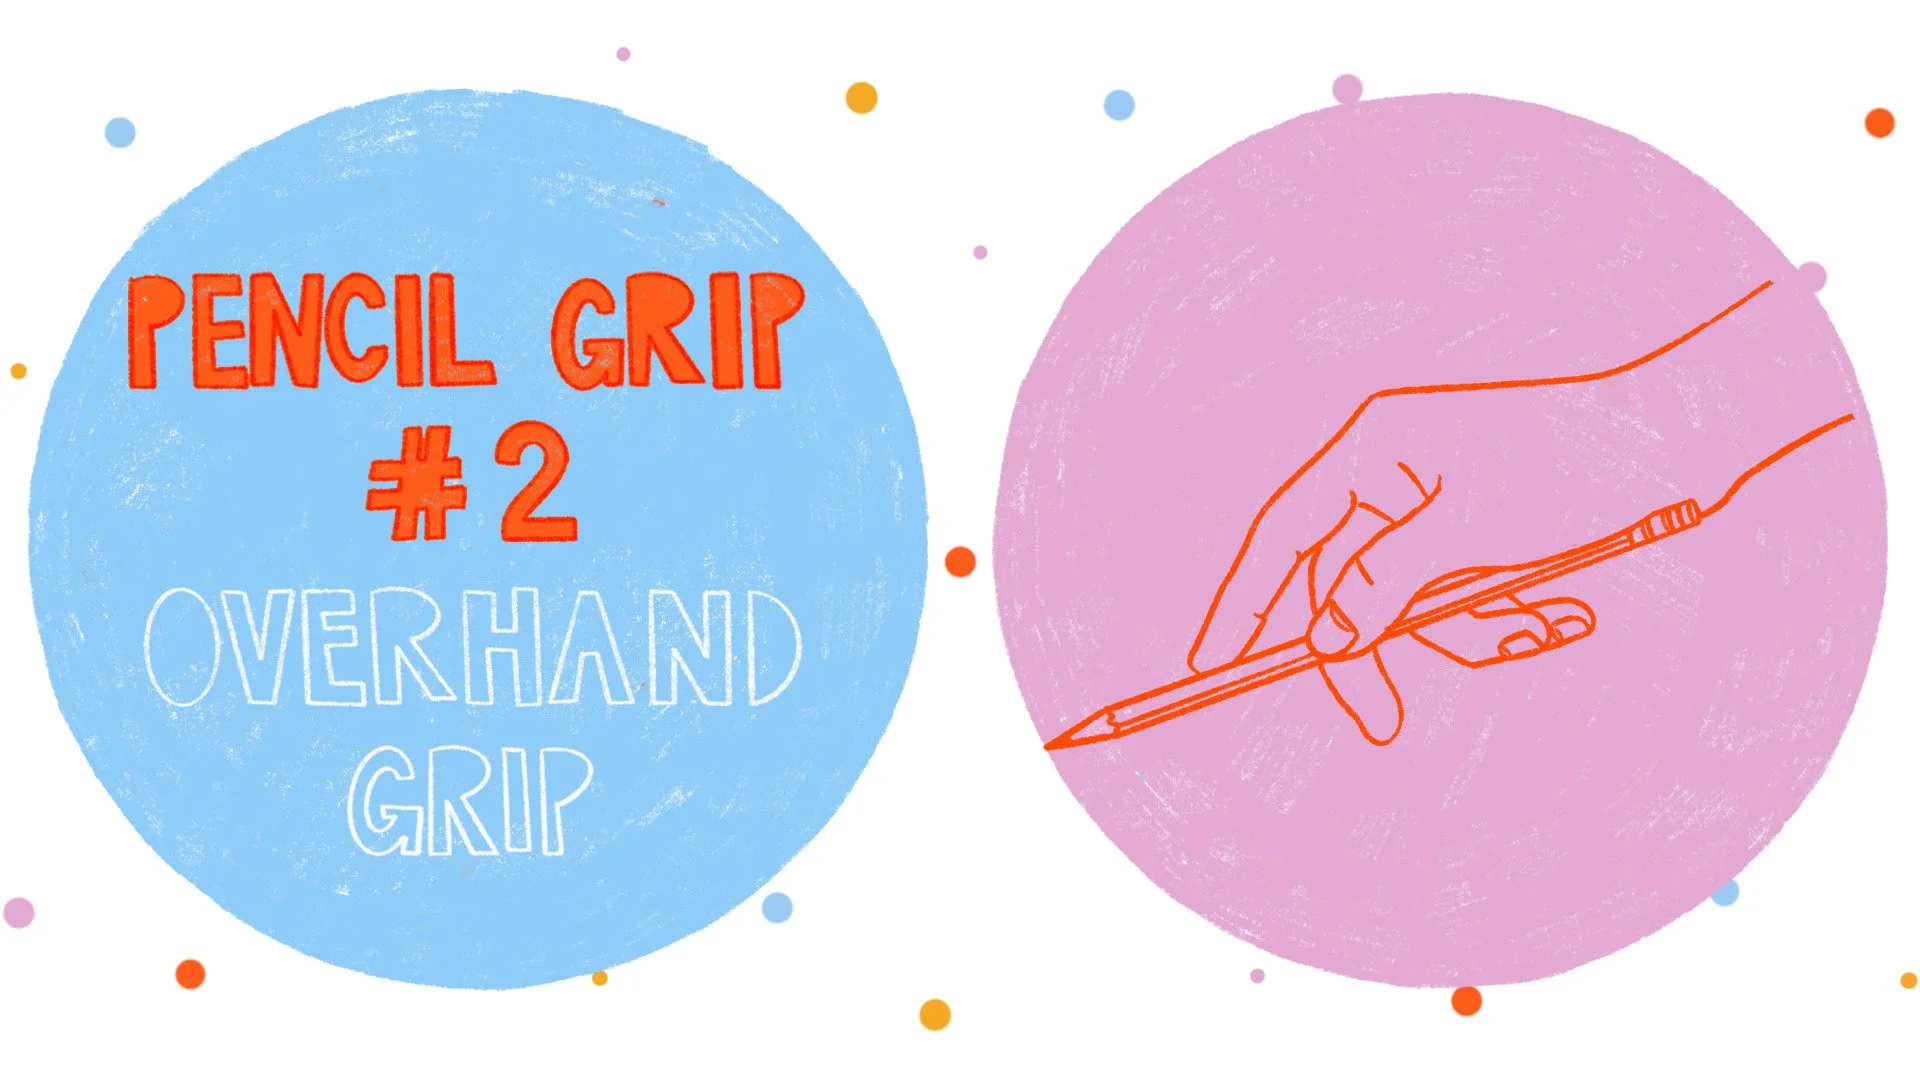
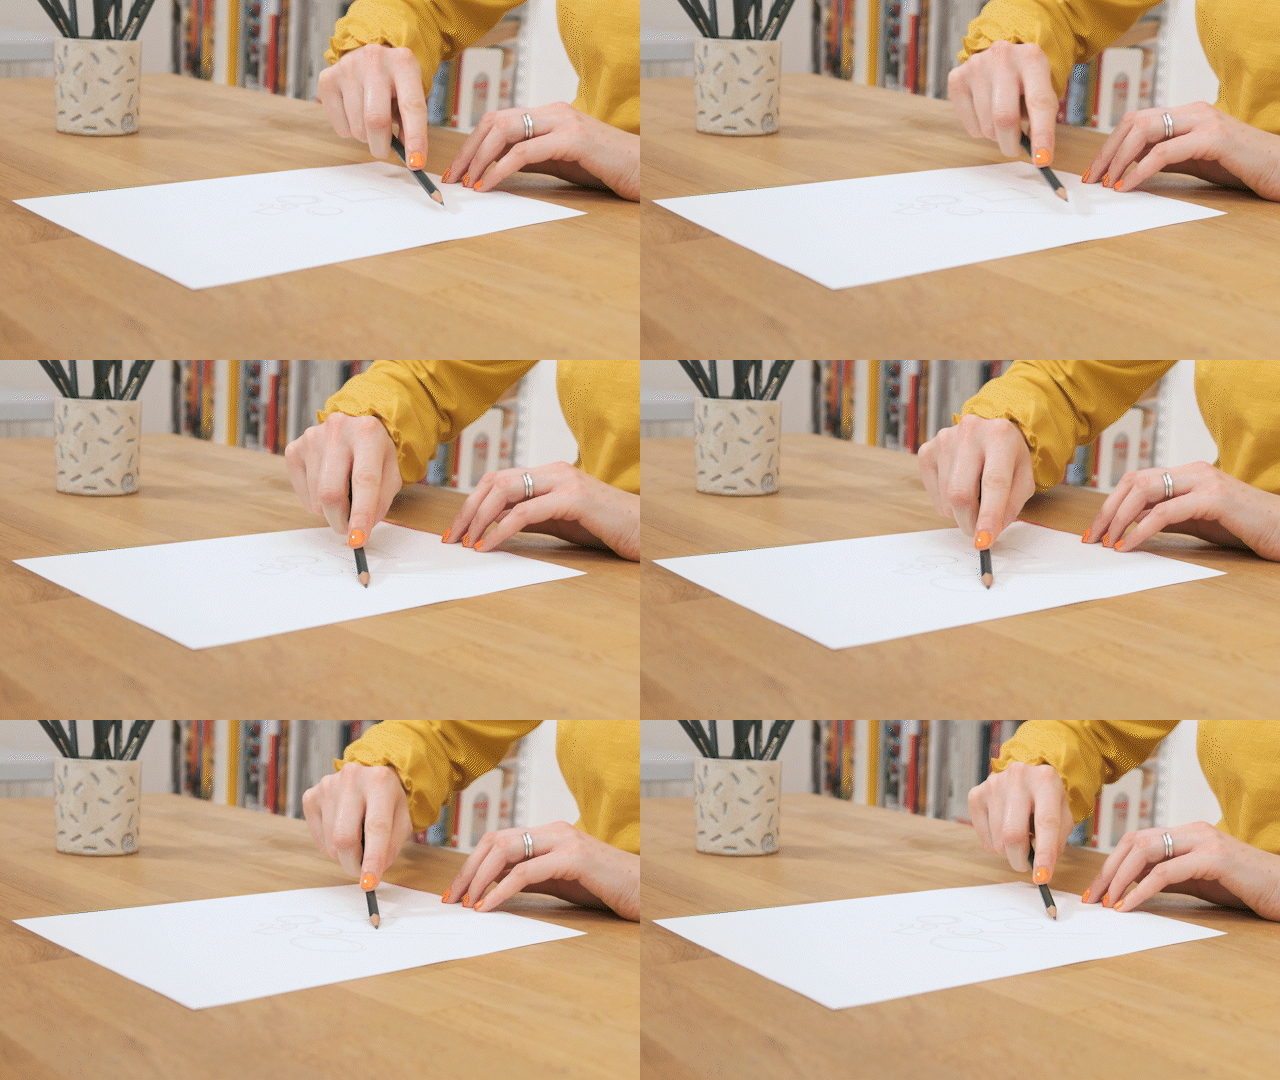
The overhand grip is a much better way to grip your pencil for sketching. This is because it allows us to use our whole arm and shoulder to create the movement, giving us the ability to create more fluid movements.
Using the side of the pencil can allow us to make softer marks which are perfect for sketching and later on adding shading. This way of holding your pencil also works great if you’re working on an upright surface like an easel.
Overhand Grip
You can also move your index finger to rest on the tip of the pencil to put more or less pressure on the tip, which can give you more control and allow you to play with line weight too. This is considered the best way of holding a pencil for drawing.But it can feel really strange at first and take quite a bit of getting used to. This is why warming up can be so helpful. Try it out and make as many marks and shapes with it as you can to see how it feels.
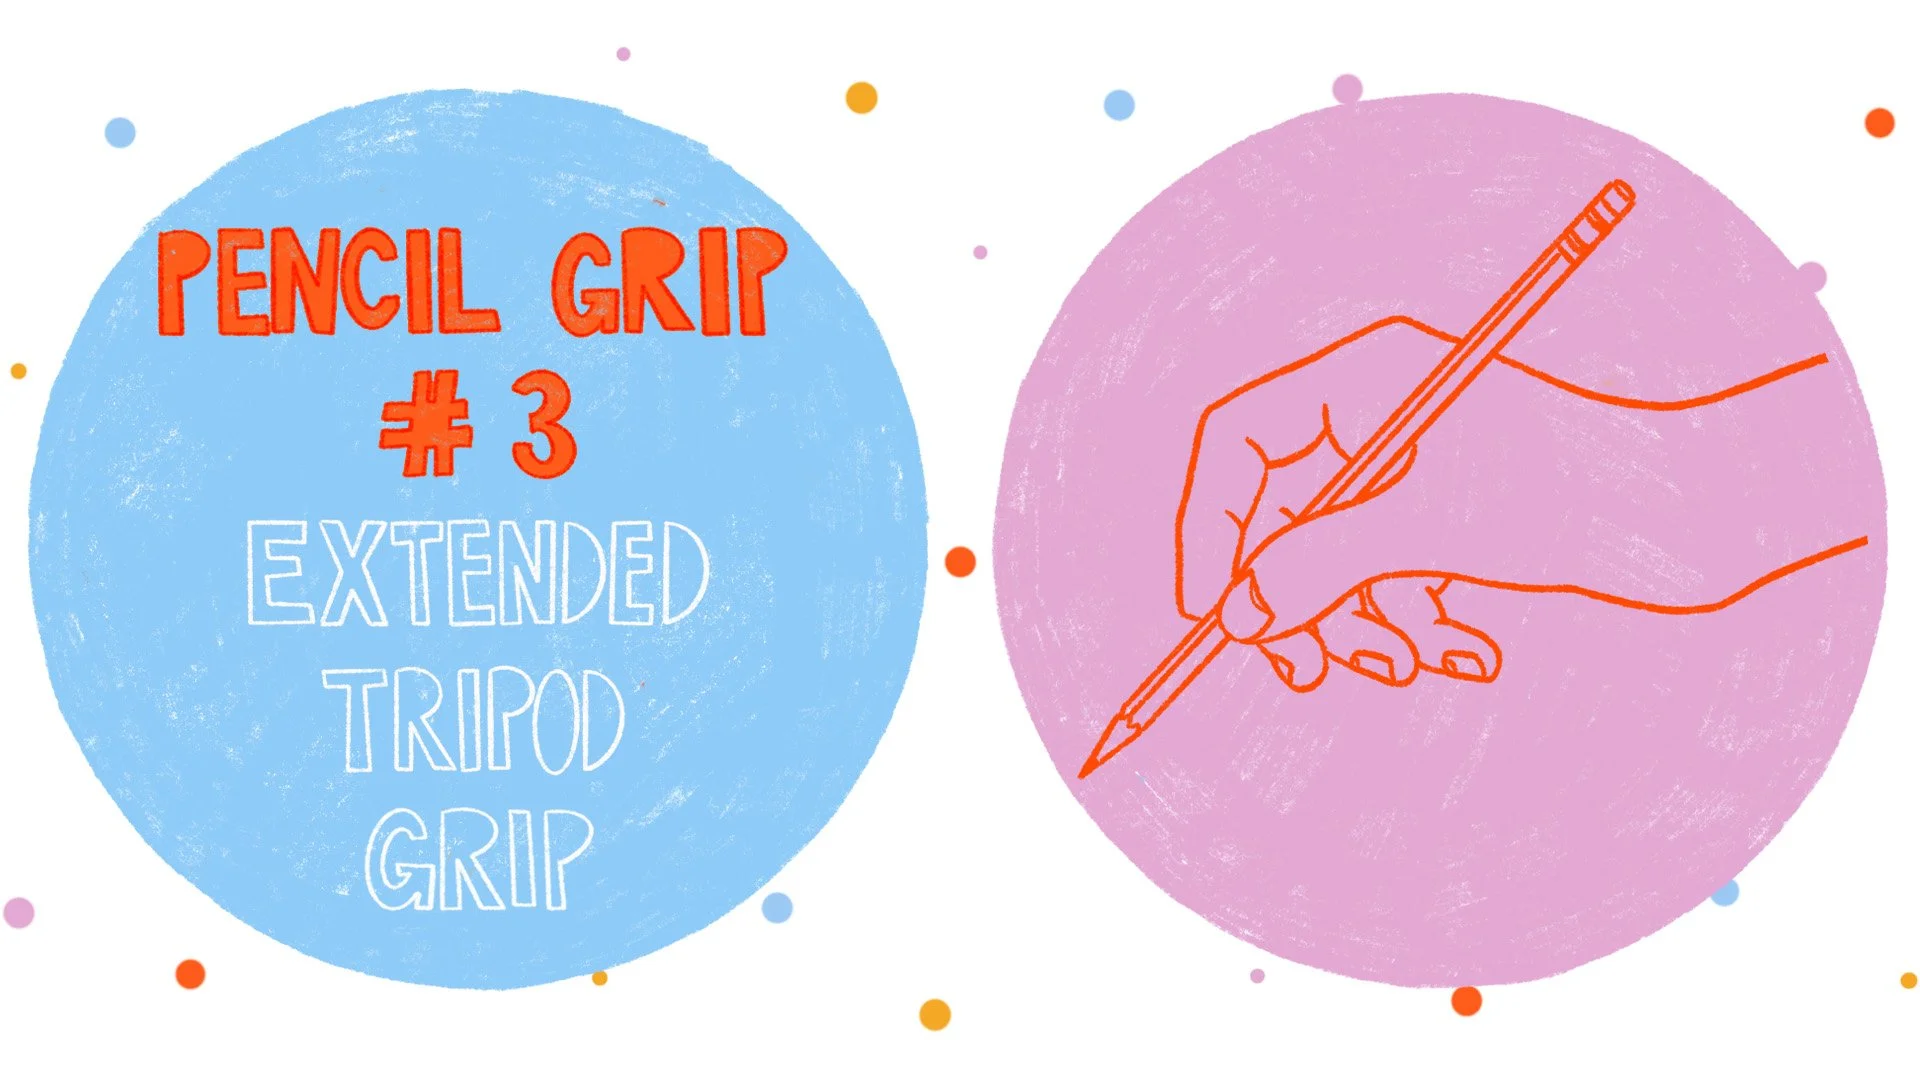
If you find the overhand grip feels too strange, a compromise would be the extended tripod grip. This is the same way that you’ll be used to holding your pencil in the basic tripod grip for writing but the grip is further up the pencil - and try to hold your pencil quite loosely.
Extended Tripod Grip
This will give you more freedom of movement as your hand is either resting very lightly on the drawing surface or not touching it at all.
I highly recommend trying out these three different hand grips and practice using them for drawing a few simple shapes and lines to see how they feel, and observe the different results you achieve visually. Play around with adjusting the grips slightly to suit you too - a little looser, a little further down the pencil… tiny changes can make a big impact!
In my case, I have found that the overhand grip gives me a much better result with straight lines and straight sided shapes, particularly when I use it at a 45 degree angle. It also gives me much better results with reasonably large curves, although for smaller, tighter curves I tend to prefer the basic tripod grip and use part of my hand resting on the paper as a pivot. These are my own personal findings from practice though - I’d encourage you to try for yourself as everyone is different :) I’d love to know how you get on - do leave a comment if you’re comfy sharing!
You may be surprised to find that a whole new way of holding your pencil allows you to achieve those perfect curves you have been trying to achieve for ages!
You may be surprised to find that a whole new way of holding your pencil allows you to achieve those perfect curves you have been trying to achieve for ages!
This post is an extract from my online course: Learn To Draw: A Beginner’s Guide To Sketching Anything

